
A Beginner’s Guide to Film Cameras
To the inexperienced, using a camera is intimidating. They’re expensive, heavy and have so many unfamiliar buttons and settings. The majority of teens now use their phones to take pictures, however this can often take away from the moment through countless attempts of trying to get that “perfect shot.” This has given rise to the popularity of film cameras, particularly disposable/single-use cameras.
What are disposable/single-use cameras?
Disposables are cheap and lightweight, costing only around a tenner. They are beginner-friendly in the way they only have five features you need to worry about: a viewfinder, a flash option, the lens, an advance wheel and a shutter release button.
To take a picture, you first wind the advance wheel until it stops. This advances the roll of film inside. Then, you hold down the flash, look through the viewfinder to ensure everything you want in the image is there and lastly press the shutter release button to capture the scene.

You won’t be able to view the images until you develop the film roll which, in my opinion, is the best part. After each picture you can stash the camera away in your pocket/bag and get back to living in the moment.
Each disposable is capable of taking only 24-27 pictures. After developing the roll of film, most camera shops will dispose of the camera for you. This can create a lot of unnecessary waste, so if you’d like a more sustainable option, perhaps you should consider…
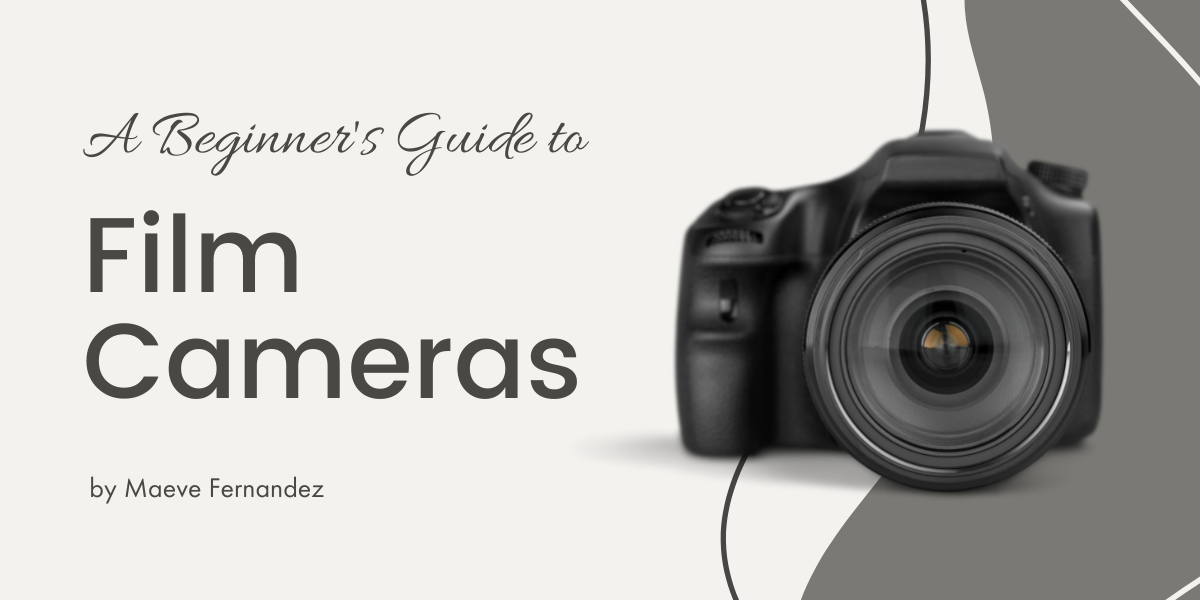
Film cameras!
There are many different types of film cameras, however this article will be mainly covering point-and-shoots and briefly mentioning polaroid/instant cameras. With film cameras, you can keep the camera instead of throwing it away and instead buy film.
Point-and-shoots have all the beginner-friendly features of a disposable with a few upgrades. The camera itself is of higher quality material and has a boundary around the lense to prevent you from getting your fingers in the picture (trust me, it happens). You will need to insert the roll of film manually yourself, which involves opening the back of the camera and latching the film onto hooks (the instruction manual you get will be more descriptive).

The large majority of P&S cameras require 35mm film, however there are lots of customizable opportunities. You can get regular coloured film, black-and-white film, film ideal for landscapes, film ideal for portraits…You can even embellish the camera with stickers, straps and cases. The possibilities are endless!
Polaroid/instant cameras are bulkier, but their appeal is that images you take are printed instantaneously. It’s wise to keep the film out of direct light, as this will prevent it from getting damaged.
To summarise, although film cameras are more expensive (€30 and up depending), they are worth the one-time investment if you find yourself liking how disposable cameras function.
How do I get the film developed?
Most camera shops will be happy to develop your roll of film for around a tenner. Simply walk in, hand them the disposable camera/roll of film from your point-and-shoot and answer the questions they ask you. You can pick whether you want the images emailed to you or printed physically.
If you choose physical copies they’ll ask if you want them glossy or matte (AKA not glossy). Developing usually takes 2-5 days, and they’ll contact you once they’re ready for pick-up.
Make sure to keep any emails/paper slips they give you. This will help them identify which set of photos are yours. Most camera shops will also give you negatives. You can drop the strip into the camera shop if you ever want your images printed again.
Personally, I like to get glossy prints (they make a nice fwubba-fwubba noise) and keep them in a photo album. I also scan them with my phone using an app so I can have digital copies. Below are a few of the photos I’m proudest of.


I hope this guide was useful to you all and you consider getting into film photography. It really is a fantastic experience – from taking each picture with care to seeing the final results. Thanks for reading!